
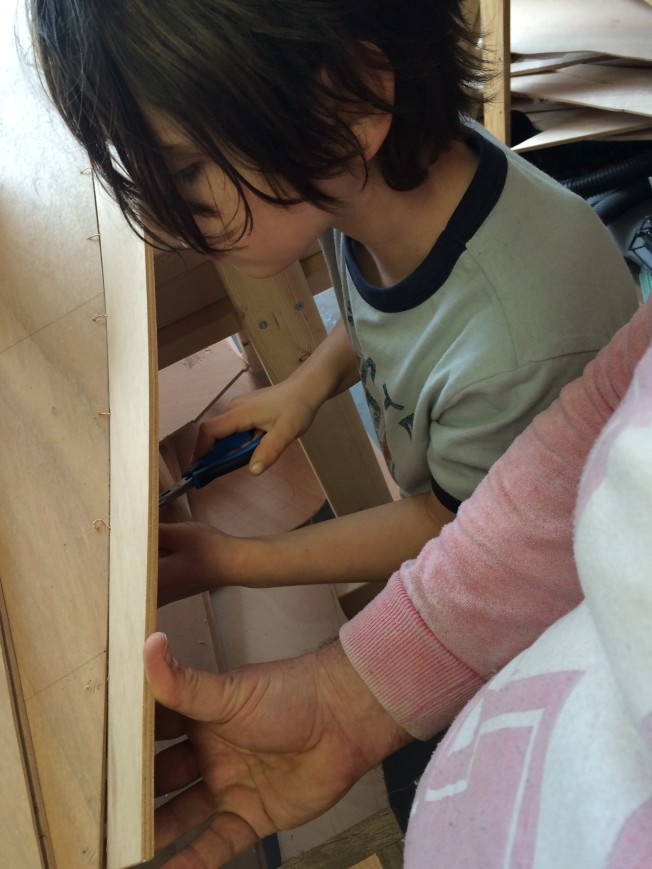
Last fall I was walking along a Long Island Sound beach with my eight-year old son looking at driftwood. He asked me if we could collect some driftwood to build something with. This was the latest in a series of weeklong summer hobbies. A bit earlier it had been stone working, which had led to several stone chisels still sitting in the garage. But as we were talking something began to take hold of me. We talked about building a model boat. And then, as we talked this over father and son, something turned in my head and I asked myself: if we could build a toy boat maybe we could build a real boat? Nothing grand, mind you. Just something – anything – that could keep a father and son afloat on the water.
The concept is not that complicated. The simplest boat can be not much more than a rectangular box, open on the top, with just a little bit of curve to it to help it move on the water. How hard could it be?
Not that I believed for a moment that it would be easy, especially for someone who hadn’t built anything out of wood in twenty-five years and even then only a barely passable book shelf. But possible. Possible. It must be possible if you studied up on how it was done, chose a simple and manageable plan and set about doing it. It must be doable if I set my mind to it. And from that moment, walking along the beach with my older son, the idea took hold of me.
I told my wife, who seemed skeptical. But I was undaunted. So like everything these days I started poking around on the Internet to see how it could be done. People have been building boats for thousands of years. For most of that time and in almost every part of the world there have been two basic ways of going about it. You can build a shell and then reinforce it with ribs and a frame. Or you can start with the frame and then build planks (the shell) onto the frame. For the last few centuries it’s almost always been the latter approach.
I got interested in this history a decade ago when I read a short, delightful little book by Lionel Casson called The Ancient Mariners: Seafarers and Sea Fighters of the Mediterranean in Ancient Times. It goes back to the earliest history of sea-faring, albeit focused mainly on the Mediterranean, and goes up through the end of the Roman Empire. Fascinating, fascinating read. What I learned in my Internet poking around, though, was that in the last half-century a slightly novel approach has been developed, mostly for amateurs and people making smallish boats, based on three innovations: plywood, epoxy and fiberglass. It’s called “stitch and glue” boat building.
The basic idea is that you build a hull by “stitching” planks of wood together with short strips of wire and then, once it’s basically in the shape you want, you epoxy the pieces together along the seams. Once the epoxy has cured, you remove the wires. It all turns on the strength and malleability of epoxy which in a sense allows you to build the shell and the reinforcing frame in a single, combined step. A bunch more is involved and I’ll get to that in a bit. But this seemed doable. I could understand the basic concept. There were no specific skills that seemed beyond my ability to learn or tools I couldn’t get at the local hardware store. And it was presented as something explicitly aimed at amateurs, not professional woodworkers or boat builders. So now I had my basic plan, a path forward.
Because the whole subject fascinated me I read a bunch of books about traditional and modern boat building – the kind of sailboats you might buy if you had a lot of money. But while I was doing this I was also hunting around for plans for building a boat. There’s a dispersed cottage industry of people who design boats to build on the “stitch and glue” model. You can buy books about it and plans for particular designs. The Internet is full of them and I looked at a bunch. But I finally found one company that seemed to do it at scale. They had numerous designs and they sold materials. They were a going operation and seemed to have lots of customers. So I figured this was the safest bet. Their plans must be fairly reliable and there’d be someone I could call if I got in a jam.
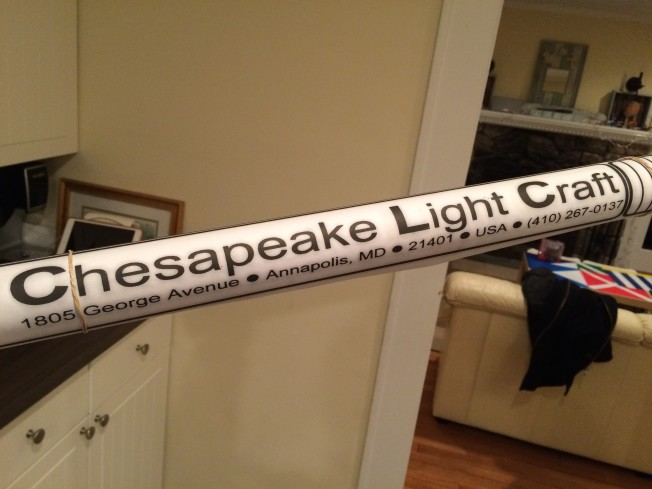
The place is called Chesapeake Light Craft out of Annapolis, Maryland. All the designs are by the founder, as near as I can tell, a guy named John Harris. I’d already bought one or two plans from some solo operators I’d found on the web. But even though I’m sure those other designs would have produced great boats as well, this seemed like a better bet. CLC sells kits and plans. The kits have all the wood pre-cut and all the supplies you need. But the plans – basically ten or so sheets of blueprints and a booklet with basic instructions – felt more like really building a boat. So I decided to order just the plans and build from the ground up – just a roll of blueprints and a small booklet, some wood and patience.
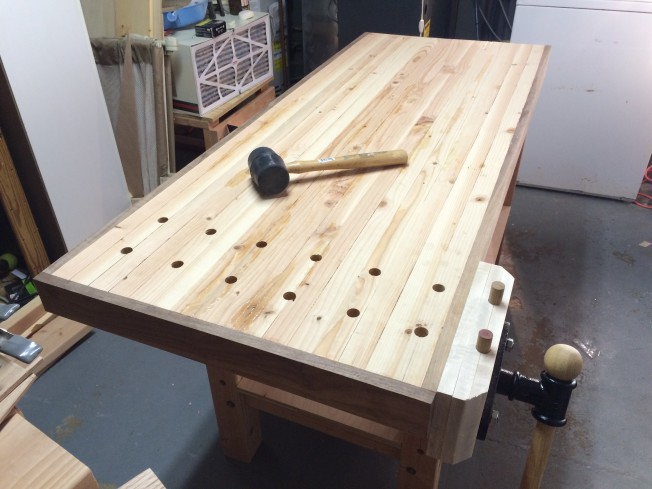
I ordered my plans in November. But I figured I should bone up my non-existent woodworking skills a bit first. So I built a work table and some sawhorses with wood and tools I bought at the local Home Depot along with a few other small projects. I was already a bit impressed with what I was able to do and I was enjoying it. There was something about the tactile quality of it, the creativity and the finitude. I’ve always loved and been drawn to creating things, a way to challenge and also reinvent myself. When I came home from my sophomore year of college I decided I would build an underground sprinkler system in the yard of the home my dad had just bought – just because it seemed like an improbable and crazy thing to do which I thought I could manage to do. Friends’ incredulity provided the thrust I needed to move forward. If you put one foot in front of the other and keep moving forward you can surprise yourself with what you can do.
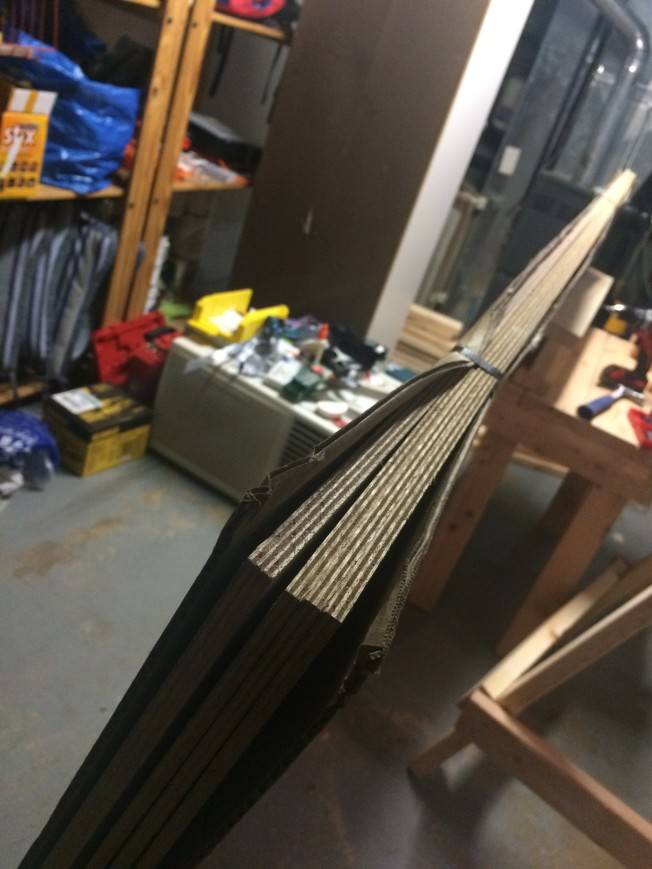
So now I was ready. I ordered four 4×8 foot sheets of what’s called marine grade plywood (Okoume, to be specific) from a huge plywood dealer out on Long Island and got down to work. (The entirety of the boat, with the exception of some thin mahogany strips and a few scraps of oak are from these four sheets you see in the picture above.) If it crosses your mind to try doing this, I wholeheartedly recommend it. If you choose one of the more basic designs you can absolutely do it with no prior experience whatsoever. All that is required is patience, a deep reservoir of it. And if you have that, one of the great pleasures of the process is all the incidental skills you learn along the way.
The first is called “lofting” – the process of taking what are often the highly irregular or sloped shapes on your blueprints, drawing them on to wood and then cutting the pieces. The big challenge is the planks or “strakes” as they’re called. These are seven or eight foot long strips of wood, usually seven or maybe eight inches wide with long slopping curves, which themselves often tighten over the arc of the plank. So how on earth do you transfer the shapes?
Here’s how.
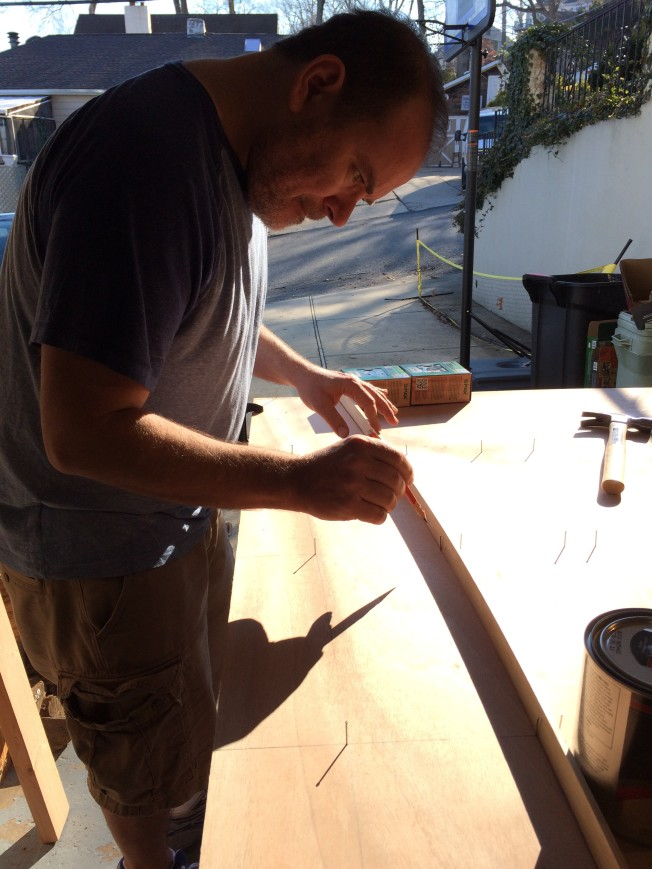
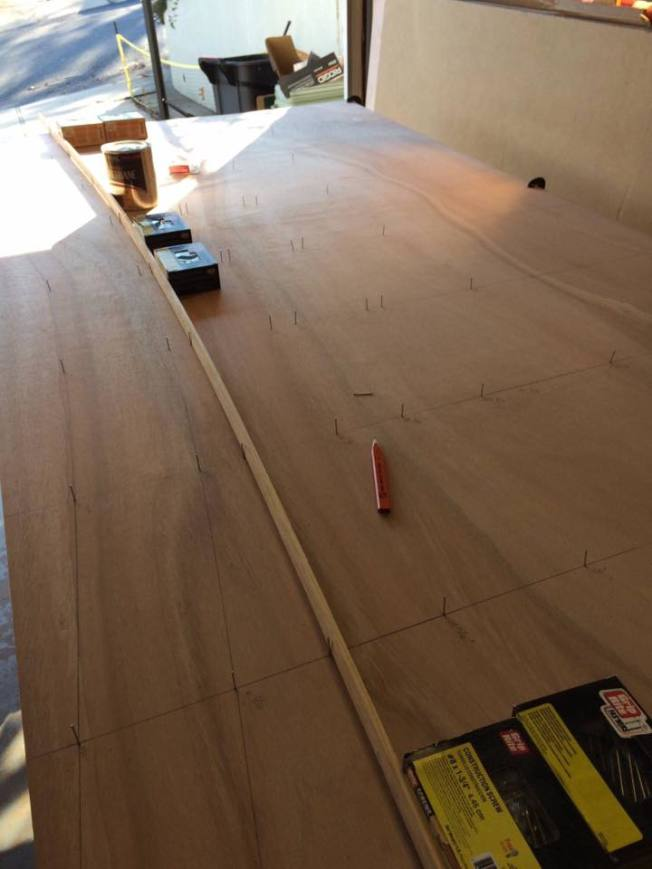
Take one of your four by eight foot sheets of plywood, lay it over sawhorses or some sturdy surface, and carefully draw out a grid marked at footlong intervals. The blueprints give you coordinates on your grid at which you tap in small nails. Say, 2 feet and 7/16ths inches up the third line from the bottom, and so forth. Then you take a batten – a long, knot-free, bendy and thin strip of wood – and arc it along the nails to get your shape. You either put heavy objects to keep it in place against the nails or put more nails on the other side of the batten. Sort of like calculus, you break odd parabolic shapes down into a series of fixed-length straight lines. Concrete, precise and beautiful.
It’s a bit painstaking. And you need to be really, really precise in your measurements and markings. But there’s also an odd beauty to the precision and clarity of it. So last December I bought a few power tools, hammered together my sawhorses, plotted out my shapes and rough cut most of the pieces of a small eight foot sailboat.
But something happened as I began to work. I started getting sidetracked on to other projects. As I got more focused on all the safety issues using power tools (air quality – which is a serious thing – and having power tools in the proximity of young children) I started using mainly and then only hand tools. I had set out only to build a boat, a pretty tall order in itself. But as I worked with the wood and started to see the different things you could do with it, especially with the refinement of traditional hand tools, I began to get hooked. So, as the snows began to pile up last winter, I threw myself into teaching myself at least the rudiments of traditional woodworking. My first project was to make myself a true woodworking bench, without which it’s hard to do any real woodworking projects. You just can’t hold things in place properly to work on them. Then I taught myself some traditional joinery and other skills building boxes, tables, mallets and other small projects.
I cannot think of the last time I had what I would call a hobby. At first my hobby was history but it was also my profession. Then there were years hustling to find some footing in journalism and a name for myself as a writer. I have never been able to work at something I didn’t love or was driven to do. So hobbies and avocations and work were all the same thing. Then there was TPM. And for a decade and a half TPM has been both my work, my hobby, my living, in a word, my everything. As work, it is all words and symbols. I love it. In some ways I am it. But there’s nothing physical or tactile or concrete about it. Woodworking was filling some void in me that I hadn’t known existed.
By March I was living and breathing woodworking and starving for the weekends when I could get back to it – a hunger I have little experience of. I even had my own Youtube mentor, a traditionalist woodworker from the UK whose instructional videos I pored over devotedly. But it was also getting close to summer and I’d committed to building the boat that started me on this journey. A dozen years ago, after four years with my dissertation and Phd on hold and with a journalism career well underway, I reached a point where I could feel that if I didn’t finish now I simply never would. The logic of life and time would overmatch me. I set aside time and finished. So with some reluctance, but a similar pull of commitment, I set aside my keepsake boxes and do and got back to work on the boat.
I came back to the project with new eyes and a firmer grasp of what I was doing. When I started in November every aspect of woodworking was new to me. By late Spring, though I was still certainly a novice, I’d spent almost six months thinking, breathing (unfortunately, literally in some cases) and practicing my woodworking skills in every available moment I had. I knew a fair amount about it, especially how to do a lot of very precise tasks using hand tools alone. So I could see the whole thing in a fuller perspective, with more understanding of what I was doing and even the ability to add some of my own additions or refinements as I went.
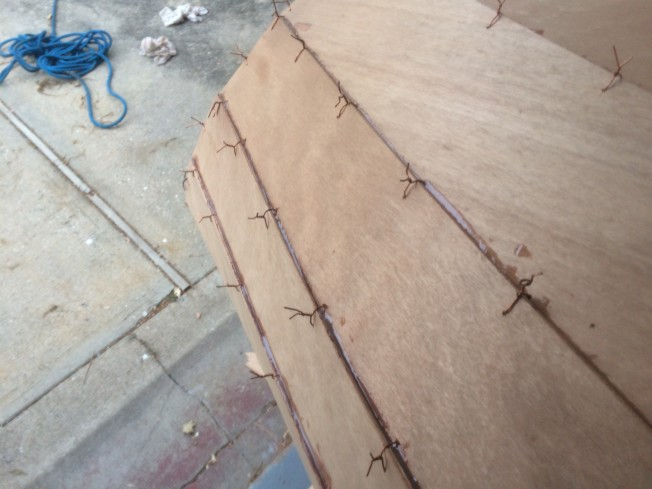
The first step was stitching together the planks to build the hull.
You put a rabbet joint (basically a small notch) on the lower edge of each plank which allows them to fit together. Then attaching the transoms (the flat front and back ends of the boat) gives you the basic shape of the boat you’re making. Getting all the parts to align just right is a bit of challenge in itself and while I was trying to figure that out I went back to my other projects several times. But after each was done I was basically back to the boat in some form or another every weekend since April.
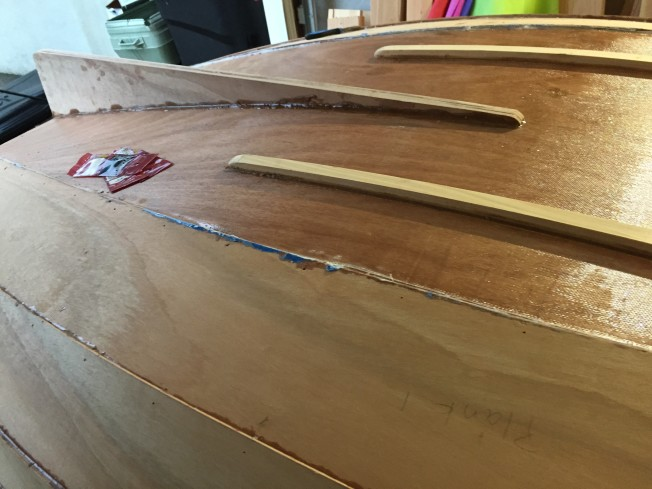
Once the hull is in place, stitched together with the small strips of copper wire, the next step is to fill the joints with slightly thickened epoxy.
This is where the built of the structural strength of the whole thing comes from. The transoms get connected up with a thicker version of epoxy and then the bottom of the boat, inside and out gets sheathed in fiberglass. The woodworking I learned in the winter and spring is almost entirely wood and glue. Even nails and screws get used only sparingly. The boat is an entirely different story. Power sanding tools, epoxy of different kinds, fiberglass – a decent amount of mess and toxic modern materials. I’d fled from hand tools to get away from all that. But I simply put on my respirator and gloves and plowed through. And working a bit with fiberglass you get a sense of just how amazing this stuff is and how many things you can do with it.
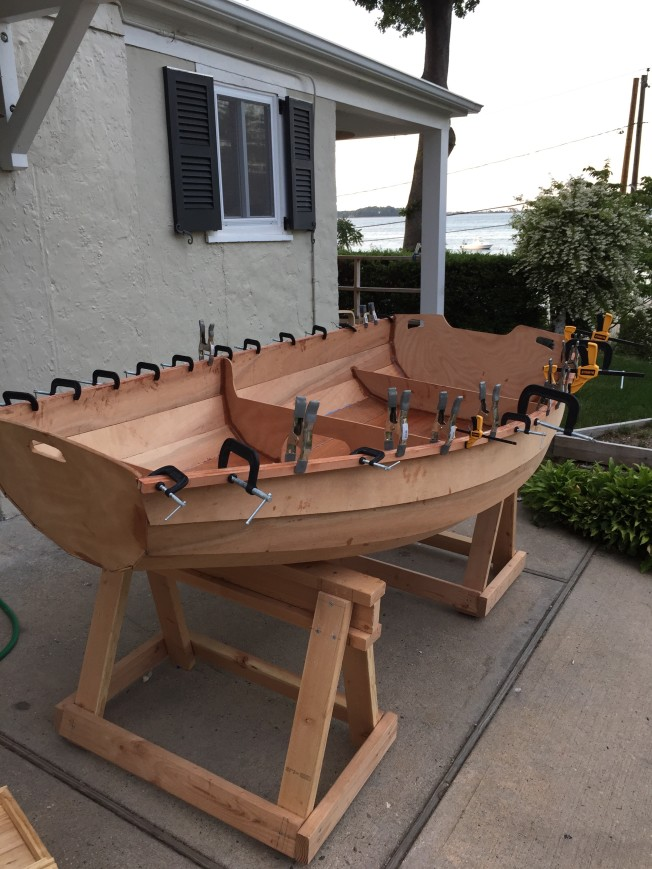
Next is attaching gunwales or rails on the top edges of the hull. I did it with two strips mahogany on top of each other, which made it possible to bend them without any steaming or treating. As you can see, it requires a lot of clamps and a lot more epoxy.
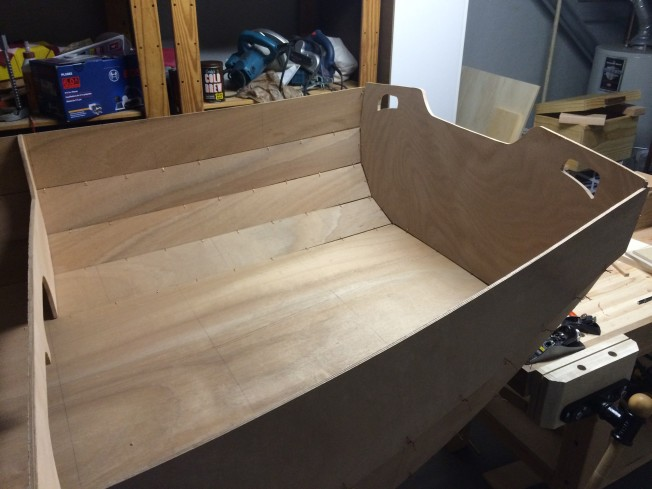
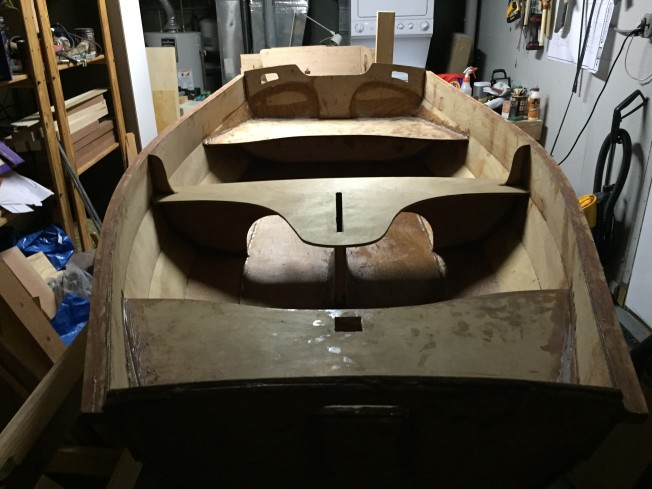
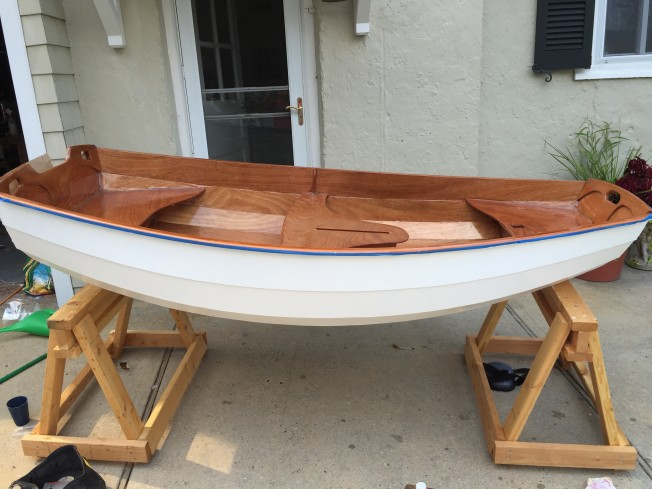
Then you put in the bulkheads and seats and you’ve got something that looks pretty much like the boat you’re trying to build.
Between the seams of epoxy binding together the strakes, the fiberglass on the bottom of the hull and the reinforcement of the mahogany rails, the boat is actually quite strong, even though it’s all built out of marine grade plywood that is only 6mm or 9mm thick. The rest of the strength comes from the next step, when the entire body is sheathed with two additional coats of epoxy.
But there are a couple key things that come before that.
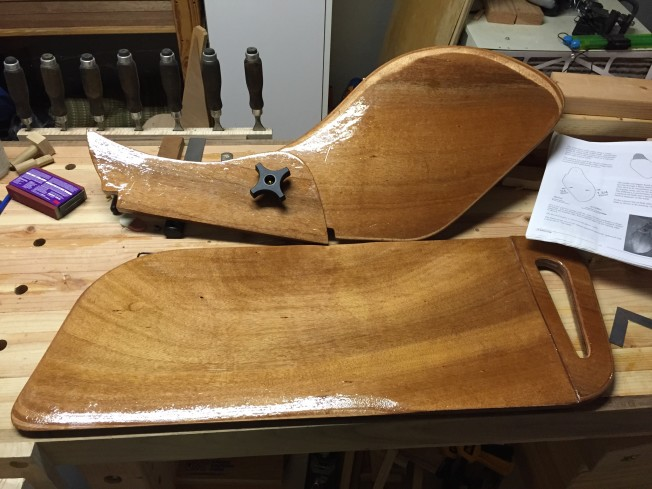
Remember, this is a sailboat. And a sailboat needs a keel to pivot off the sail to provide forward motion. A sailboat this small usually has a retractable keel called a daggerboard. And for it to be retractable, this design has a locker built under the middle thwart that is basically an open hole from the seat down into the water.
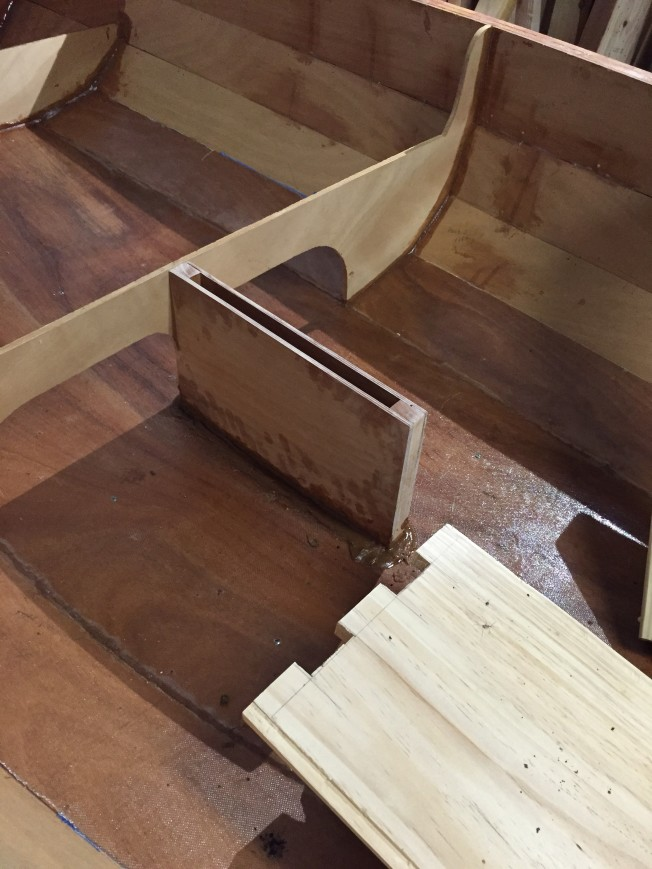
When you’re in motion (and in more than a couple feet of water you drop the daggerboard through the slot and you’ve got a keel.
I also had to add a skeg (a small fin on the underside of the boat for directional stability) and a couple skids to protect the underside of the hull from scrapes and rocks.
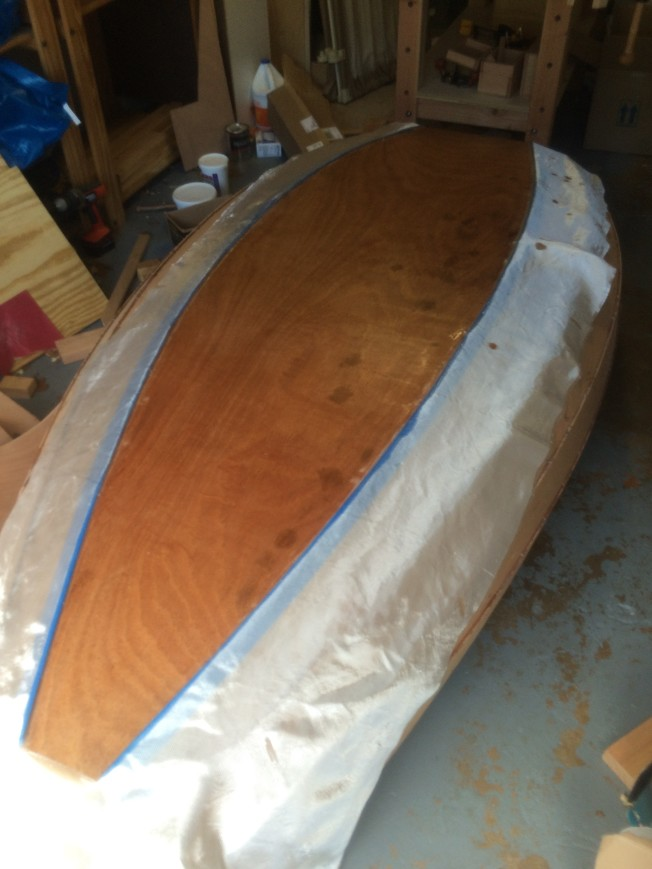
Next, epoxying the entire thing.
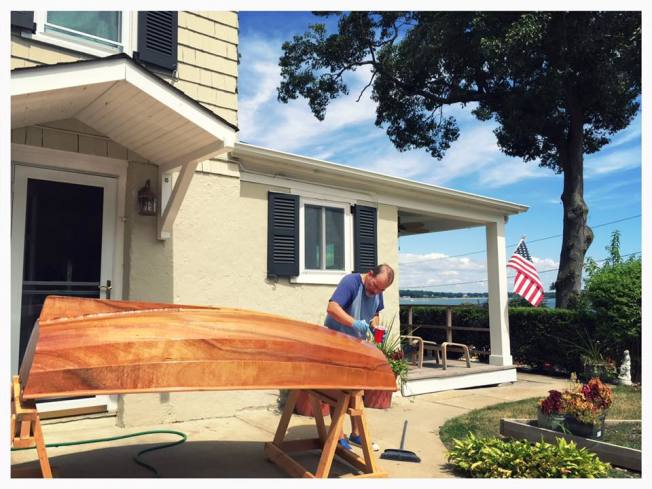
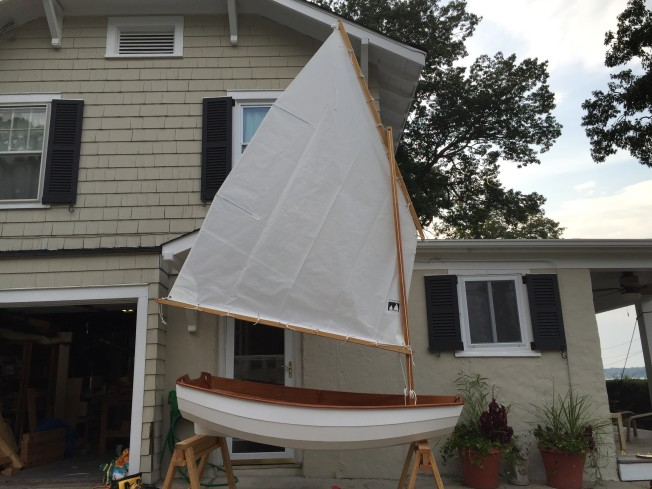
This is how this stitch and glue process really works. You have a wooden boat. But really it has something more like a wooden core. It’s completely encased in epoxy and fiberglass which makes it exceptionally hard and durable and at least fairly resistant to impact, with an emphasis on the ‘fairly’. With all that done, all that’s left is priming and painting the underside, varnishing the inside (mainly to protect the epoxy from sunlight) and building a mast, a daggerboard and a rudder.
Almost all the work I did since last March. So all told it took me about five months of weekends to get it done. When I first started I thought rough-cutting out the pieces was bulk of the work. But that wasn’t even remotely the case. Something like climbing out of a vast canyon, you keep thinking you see the plateau at the top only to get closer and realize it’s only one of many on the way to getting out. You’re nowhere near done. But finally, I was done.
Altogether, it was an amazing experience. As I mentioned, when you buy plans from Chesapeake Light Craft you get blueprints and a small booklet of instructions. The instructions are not always overly detailed and there are definitely parts where whoever was writing the instructions was unintentionally assuming some knowledge a novice might not have. It’s so obvious to him or her that they didn’t think to mention it. This led to a few moments of frustration. But as I went along I was glad the directions weren’t that specific. Because those small gaps had to be filled in with common sense and experimentation and just a bit of tinkering. And was where the magic of the build really came in. Overall, I’m really glad it was this way rather than any other. Because it’s not just a cookie cutter step by step enterprise. You have to reason through and use your common sense and tinker to get things to work. In other words, you’re really building a boat from scratch. You have a plan and blueprints and they show you the basic way to do it. But you’re really building a boat, from scratch.
And that’s an amazing feeling.
If any of this seems inspiring or interesting to you and you’re considering trying it yourself, I heartily recommend Chesapeake Light Craft. They seem to be the biggest operation in the business, which means their boat designs have been built by lots and lots of people. And they work. They also sell parts and kits and all of that gives confidence if you’re launching off on something that you simply have no idea how to do. Notwithstanding the small gaps I mentioned in the instructions, the instructions had to be pretty clear because I went into this knowing nothing and I built a boat, which I took out on the water for the first time three days ago and it floated and worked like a charm. The few times I was really stumped and didn’t know the right way do a particularly step correctly I emailed or phoned the folks at CLC and they answered my questions.
Seriously, if you want to do this, do it with them.
After all that work, it was a bit daunting to put her in the sea water which is corrosive and rough and full of rocks which can make easy work of this shell of a boat, even reinforced with epoxy and fiberglass. But from the start it was’t simply building it I was after; I wanted to sail her. I know nothing about sailing. I don’t know most of the vocabulary, though I picked up some of it through the building. I know nothing about how to hoist and coordinate sails on boat with two, three or more sails. But a couple times I’ve gone on vacation to places where they had Hobie-cats you could use. This is sailing at its simplest, a single tall sail on two pontoons you pivot against a keel and a rudder. With brief instruction you can get the feel of it because it’s really all about feeling the tension in the sail and how it moves on the water as the thrust from the sail works against the rudder and keel. This sailing pram is a single sail. So it’s a similar proposition.
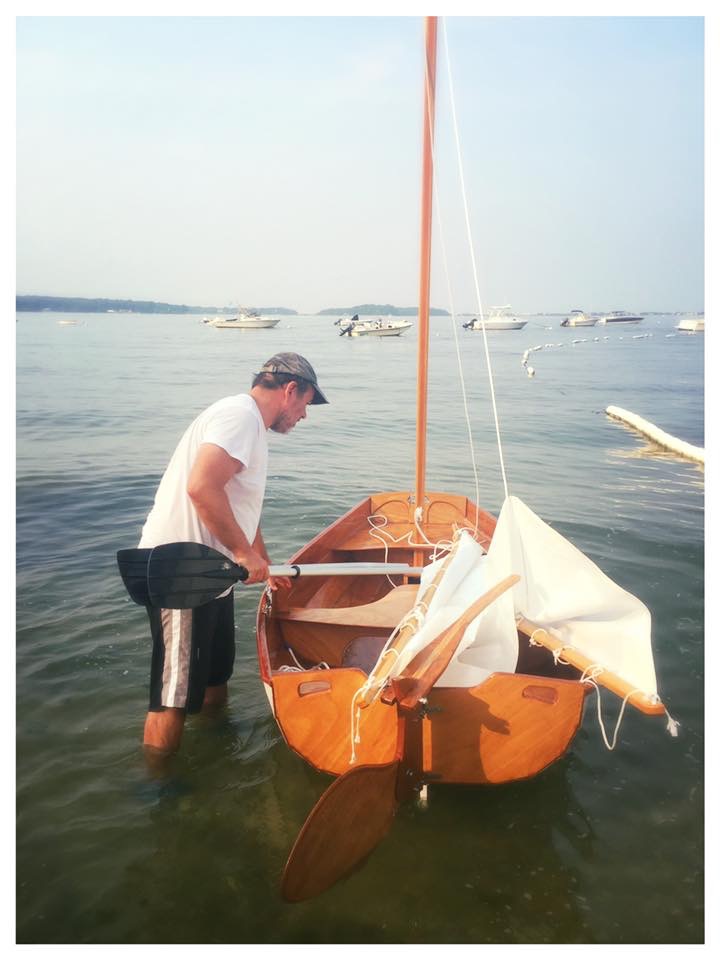
It took me a couple times out to get a feel for handling the rig. But the third time out I got it. And it was, quite simply, glorious. She’s fast on the water and handles beautifully. Months building her all felt well spent. With a single sail and right against the water, you feel the water and the wind in your muscles and brow. This is what I wanted.


